How Much Coffee for Pour-Over? As a Q Grader with years of hands-on experience and sensory analysis expertise, I’ve crafted this easy-to-follow step-by-step guide to help you master the pour-over method.
What is Pour-Over Coffee?
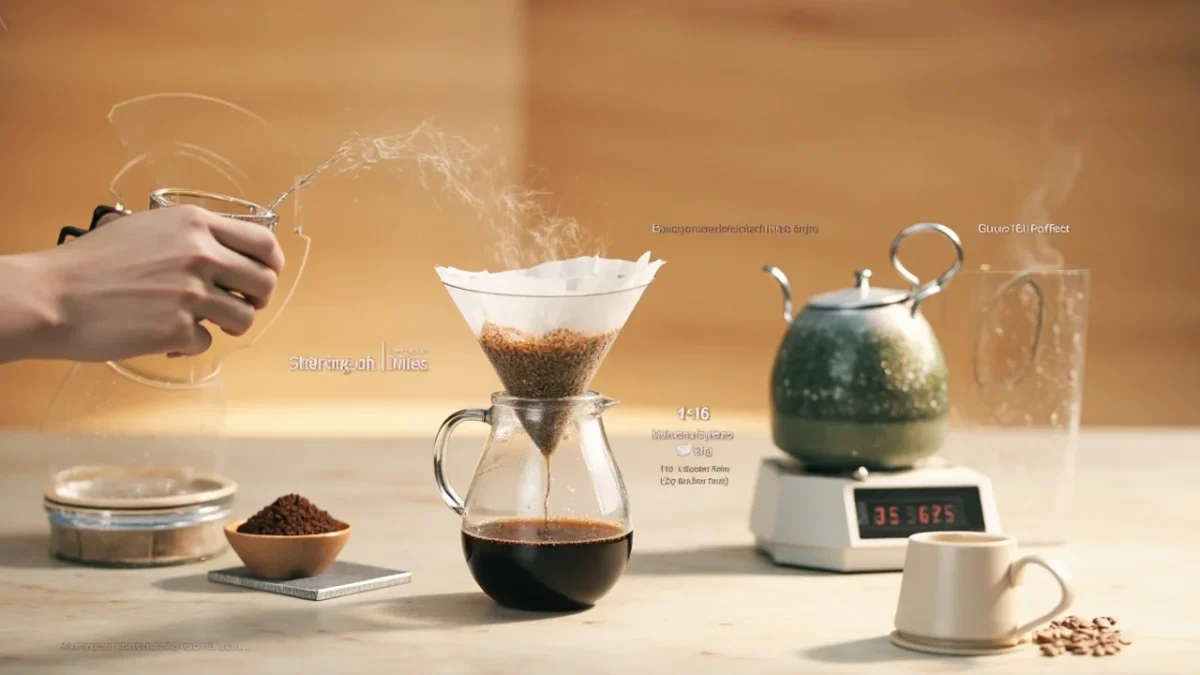
Pour-over coffee is a manual brewing method that requires you to pour hot water over ground coffee placed in a filter. The water then filters through the coffee grounds, extracting the flavors and soluble compounds as it passes through. The result is a clean, crisp cup of coffee that highlights the coffee’s natural flavors, making it ideal for showcasing high-quality beans..
Understanding Pour-Over Coffee-to-Water Ratios: The Basics
The ratio of coffee to water is the foundation of a perfect pour-over brew. It is essential to understand how this ratio impacts the flavor, strength, and extraction of your coffee. After years of dialing in pour-overs (and plenty of over-extracted mistakes), here’s what I’ve learned:
Why Coffee-to-Water Ratios Matter
That magical number between your coffee grounds and water determines whether your cup tastes like:
- A bright, juicy symphony (balanced extraction)
- A bitter thunderstorm (too concentrated)
- A timid whisper (too weak)
The Golden Ratio: 1:15 to 1:18
Most specialty cafes swear by a 1:16 ratio (1g coffee to 16g water). It’s the coffee world’s “salt to taste” baseline, reliable but not gospel.
Pro Tip: My Ethiopian Yirgacheffe thrives at 1:16.5, while a punchy Sumatra needs 1:15 to shine. Beans talk – listen to them.
How to Adjust for Strength
- Strong & Bold?Try 1:15 (20g coffee for 300ml water)
- Light & Delicate?1:17 (17.5g for 300ml) lets subtle florals bloom
- Experiment:Adjust in 0.5-ratio increments like a coffee sommelier
Real-World Example
For my morning 300ml brew:
- The scale reads 300g of water
- Divide by 16 → 18.75g coffee
- I round to 19g because life’s too short for decimals
(Bonus: This “gram math” becomes second nature after 50 brews!)
How Much Coffee for Pour-Over? Easy Step-by-Step Guide
Making pour-over coffee is simple when you follow these steps. This method gives you a clean, flavorful cup every time.
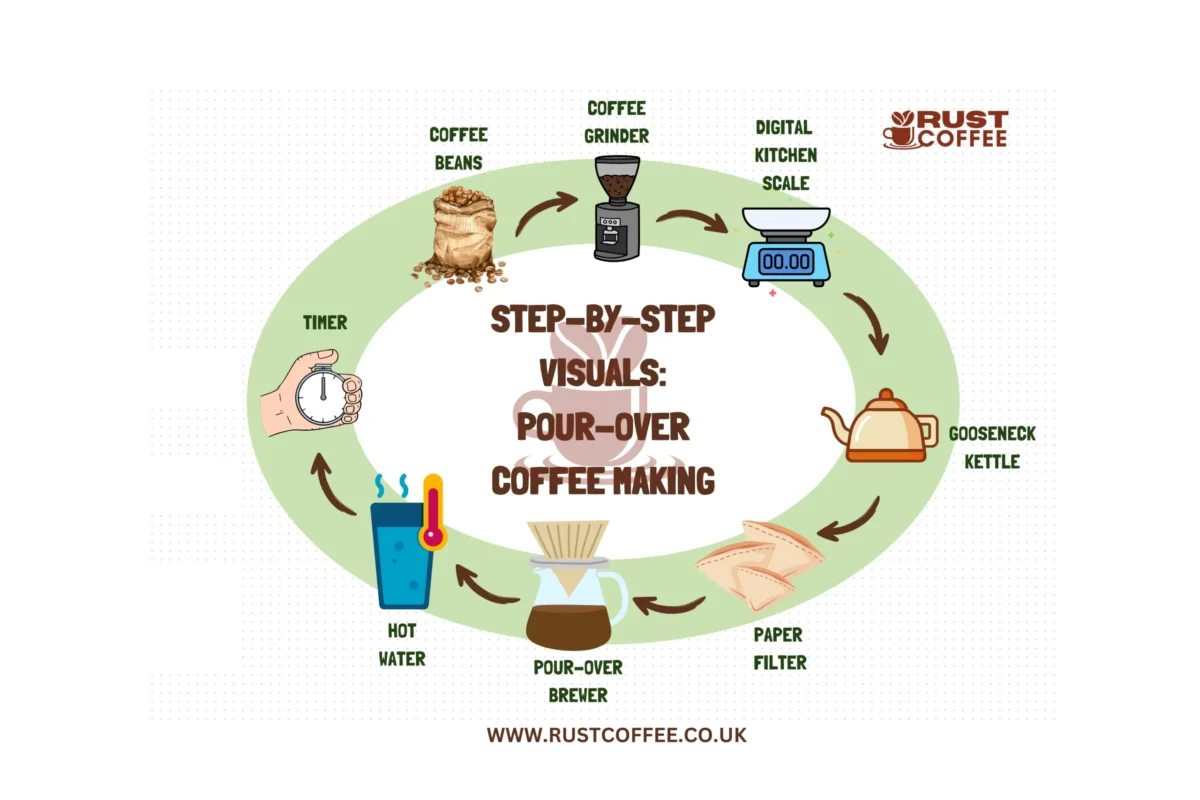
What You Need for Pour-Over Coffee Making
- Fresh coffee beans(roasted within the last 2-4 weeks)
- Coffee grinder(grind just before brewing)
- Digital kitchen scale(to measure coffee and water)
- Gooseneck kettle(for better pouring control)
- Paper filter(fits your pour-over device)
- Pour-over brewer(like V60, Chemex, or Kalita Wave)
- Hot water(just below boiling, about 200-205°F or 93-96°C)
- Timer(your phone works fine)
Step 1: Grind Your Coffee
Use medium-fine grind (like table salt).
Grind right before brewing for the best flavor.
Amount: 15 grams (about 1 tablespoon) of coffee for every 240 grams (1 cup) of water. For accuracy, don’t rely on scoops; learn how many scoops per cup here.
Step 2: Heat Water & Rinse Filter
- Boil water, then let it cool for 30 seconds (to about 200-205°F).
- Put the paper filter in your pour-over brewer.
Pour hot water over the filter to:
- Remove paper taste
- Warm your cup or carafe
- Throw away the rinse water.
Step 3: Add Coffee & Start Brewing
- Put ground coffee in the filter.
- Start your timer.
First Pour (Bloom):
- Pour twice the weight of coffee in water(for 15g of coffee, use 30g of water).
- Wait 30 seconds. This helps coffee release gases, resulting in a better flavor.
Second Pour:
- Slowly pour more water in small circles until you reach a total of 150g of water.
- Wait 10-15 seconds.
Third Pour:
- Pour the remaining water (up to 240g total) in slow, circular motions.
- Total brew time should be 2:30 to 3:30 minutes.
Step 4: Remove Filter & Enjoy
- Once all the water has drained, remove the filter.
- Stir coffee gently before drinking.
Taste and adjust next time if needed:
- Too weak?Use more coffee or a finer grind.
- Too bitter?Use less coffee or a coarser grind.
Tips for Best Results
- Use filtered water – Better water = better coffee.
- Keep water temperature steady – Too hot = bitter, too cool = weak.
- Pour slowly – Better flavor control.
- Clean equipment after use – Old coffee oils can make new coffee taste bad.
Pour Over Troubleshooting Chart
| Problem | Likely Cause | Solution | Ratio Adjustment | Other Fixes |
|
Sour, weak coffee |
Under-extraction |
Finer grind + hotter water |
Increase coffee (e.g., 1:16 → 1:15) |
Extend brew time by 30s |
|
Bitter, harsh coffee |
Over-extraction |
Coarser grind + cooler water |
Reduce coffee (e.g., 1:16 → 1:17) |
Shorten brew time by 30s |
|
Muddy, uneven taste |
Inconsistent grind |
Use burr grinder |
Keep ratio stable |
Check grind uniformity |
|
Flat, dull flavor |
Stale beans or water |
Fresh beans + filtered water |
No ratio change |
Adjust water temp ±5°F |
|
Too fast/slow drawdown |
Wrong grind size |
Adjust grind (finer/slower) |
No ratio change |
Tamp grounds evenly |
Pro Tips:
Always change one variable at a time (e.g., grind size OR ratio, not both).
Light roasts: Need hotter water (205°F) and slightly longer extraction.
Dark roasts: Use cooler water (195°F) to avoid bitterness.
How Much Coffee for Pour-Over? Should I Use
One of the most common pain points when making pour-over coffee is figuring out how much coffee to use. Many people end up using either too much coffee, which makes the brew too bitter, or too little, resulting in a weak cup of coffee.
Solution: To get the perfect cup, start with a simple 1:16 ratio of coffee to water. For every 1 gram of coffee, use 16 grams of water. For example:
For one cup (around 300 ml of water), use 18-19 grams of coffee.
This ratio will yield a balanced cup that’s not too weak or too strong. It’s the most commonly recommended ratio by coffee experts and is ideal for beginners just starting with pour-over brewing at home.
Inconsistent Results Due to Incorrect Ratios
One common struggle most people face with pour-over coffee is getting the strength just right. It’s easy to feel frustrated when your coffee doesn’t taste how you expect, often because the ratio or technique is off. However, the good news is that the key to consistent results lies in understanding the right coffee-to-water ratio for different strengths and types of beans.
To start, try using a 1:16 ratio, which works beautifully for most coffees.
If you prefer a stronger cup, increase the ratio to 1:15; if you like your coffee a bit lighter, opt for 1:17.
Instead of relying on scoops, I recommend using a digital scale to measure your coffee. This takes the guesswork out of brewing, giving you the accuracy needed for consistently great cups every time.
Complicated Brewing Methods That Lead to Frustration
Many coffee brewers struggle with overcomplicated methods. There’s a lot of technical advice available, but beginners often feel overwhelmed by the numerous factors they need to control, including water temperature, pouring technique, grind size, and more.
Solution: Let’s simplify it. To make great pour-over coffee:
- Measure your coffee and water with a scale (start with a 1:16 ratio).
- Grind your coffee medium (similar to sea salt).
- Heat your water between 195°F-205°F (90°C-96°C).
- Pour slowly in concentric circles, starting from the center and working outwards.
This approach allows you to focus on the essentials, coffee, water, and technique, without feeling overwhelmed. Stick to the basics, and as you get more comfortable, you can experiment with different ratios and techniques.
The ‘Golden Ratio’ and Why It’s a Starting Point
The Specialty Coffee Association (SCA) and other coffee experts recommend a range of ratios, typically from 1:15 to 1:18, depending on the type of beans, roast level, and personal preferences. The Golden Ratio of 1:16 is a widely accepted starting point because it provides a balanced cup that works with most beans and brewing methods.
Why Start with 1:16?
- Balanced Extraction: A 1:16 ratio generally yields a balanced cup, allowing for an even extraction of the coffee’s soluble compounds without either under-extracting or over-extracting the flavors.
- Versatility: Whether you’re brewing a single cup or scaling up for multiple servings, the 1:16 ratio provides a solid foundation, which can be adjusted to suit the specific coffee you’re brewing.
However, this ratio is only a starting point. The best way to find your ideal brew is to experiment with different ratios depending on the coffee’s origin, roast level, and your flavor preferences.
Pour Over Coffee Ratio Comparison Chart
(Visual guide to flavor profiles & recommended uses)
| Ratio (Coffee:Water) | Strength | Flavor Profile | Best For | Roast Level | Brew Time |
|---|---|---|---|---|---|
| 1:14 | Bold | Intense, heavy body | Dark chocolate notes | Dark roast | 2:30-3:00 |
| 1:15 | Rich | Deep, caramel sweetness | Espresso lovers | Medium-Dark | 3:00-3:30 |
| 1:16 (Golden Ratio) | Balanced | Clean, nuanced | Beginners / All-purpose | Medium | 3:30-4:00 |
| 1:17 | Bright | Fruity, floral | Light roasts / Single-origin | Light | 4:00-4:30 |
| 1:18 | Delicate | Tea-like, subtle | Iced pour over / Experimentation | Very light | 4:30+ |
Notes:
-
*Brew times assume medium-fine grind (like sea salt).
-
Water temp: 195–205°F (90–96°C) for all ratios.
-
Scale recommended: 0.1g precision for accuracy.
Key Factors Influencing Your Ideal Ratio
There’s no one-size-fits-all ratio for pour-over coffee. Several factors affect the ideal ratio for your brew, including the coffee’s roast, grind size, water quality, and your personal taste preferences.
- Roast Level:
Lighter roasts, such as those from Ethiopia or Kenya, often require a slightly higher ratio (1:17 or 1:18) to preserve their fruity, floral characteristics. Darker roasts may require a slightly lower ratio (1:15 or 1:14) to avoid bitterness and over-extraction.
- Bean Origin:
The origin of your beans affects their flavor. For instance, a fruity Ethiopian coffee might shine with a higher ratio, while a rich Sumatra might work better with a slightly lower ratio for a fuller body.
- Grind Size:
The grind size plays a significant role in the brewing process. A finer grind will result in more surface area exposed to the water, requiring a slightly coarser ratio to avoid over-extraction. A coarser grind, on the other hand, will need more coffee to achieve the desired strength.
- Water Quality and Temperature:
The quality of your water is just as important as the coffee itself. Always use filtered water to avoid undesirable flavors. Water temperature should range between 195°F to 205°F (90°C to 96°C). Water that is too hot or too cold can lead to Over-extraction or under-extraction.
Conclusion: Master How Much Coffee for Pour-Over Ratio
How much coffee for pour-over? Getting the right mix of coffee and water makes all the difference. No matter if you’re just starting out or you’ve been brewing for years, knowing these simple measurements will help you make great coffee every time.
Start with the 1:16 ratio, experiment with your grind size, water temperature, and pour technique, and refine your brewing process to suit your taste. With practice, you’ll perfect the art of pour-over brewing and enjoy coffee tailored just for you.


